Create New Budget
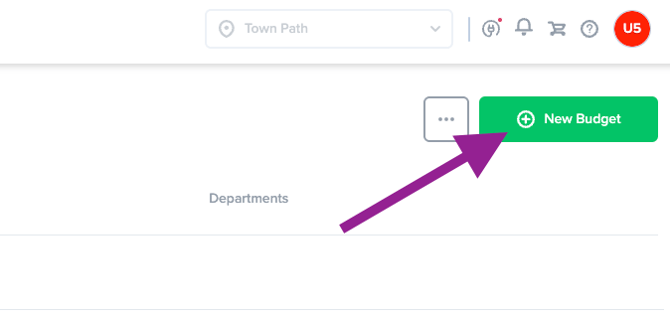
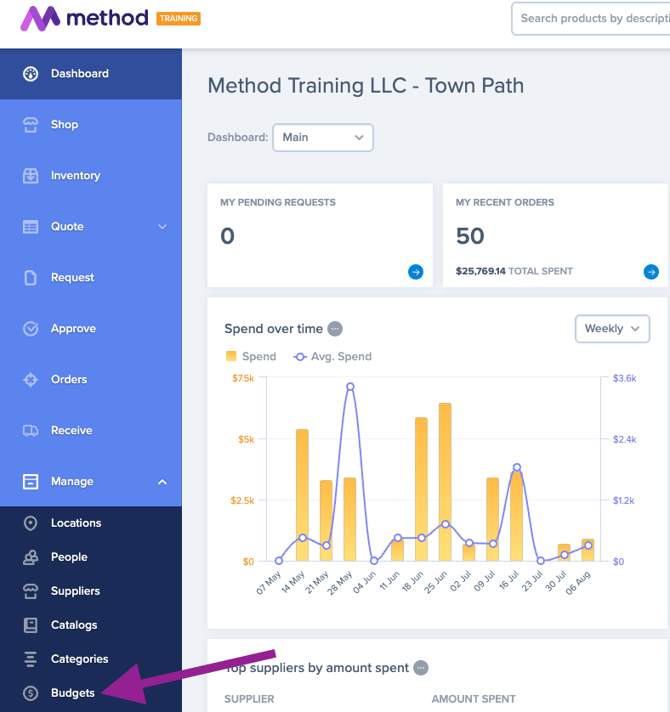
1. To create a new budget, navigate to the Manage option in the menu and select Budgets.

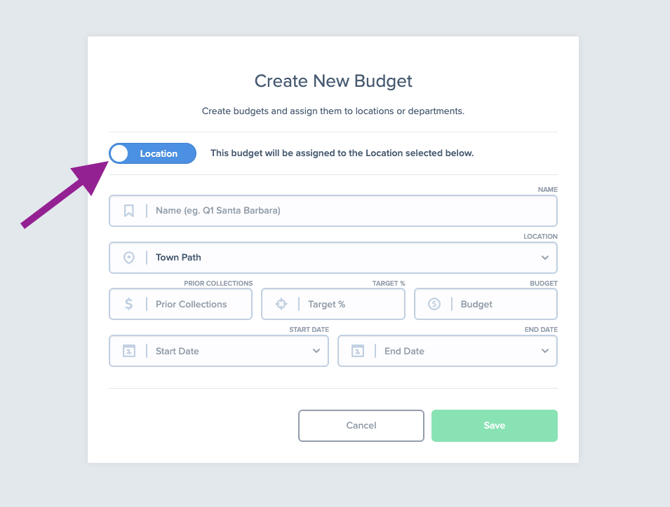
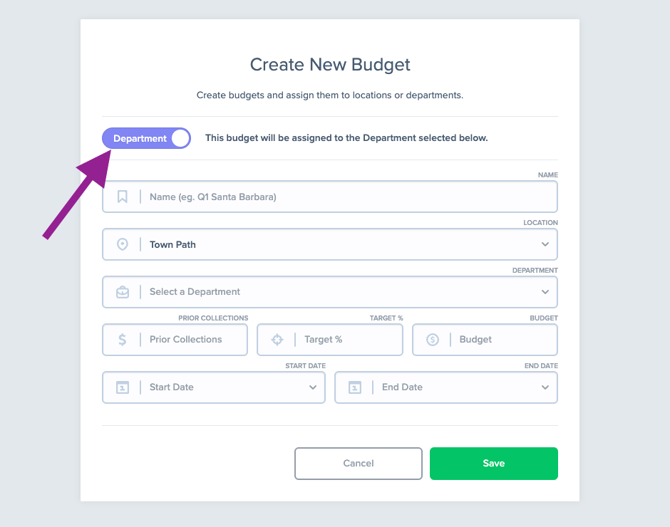
3. Choose whether this budget will be specific to a location or department by toggling the switch.
- Selecting a specific location means that any requests made in that particular location will be deducted from this budget.
- Selecting a specific department means that any requests made in that particular location will be deducted from this budget.
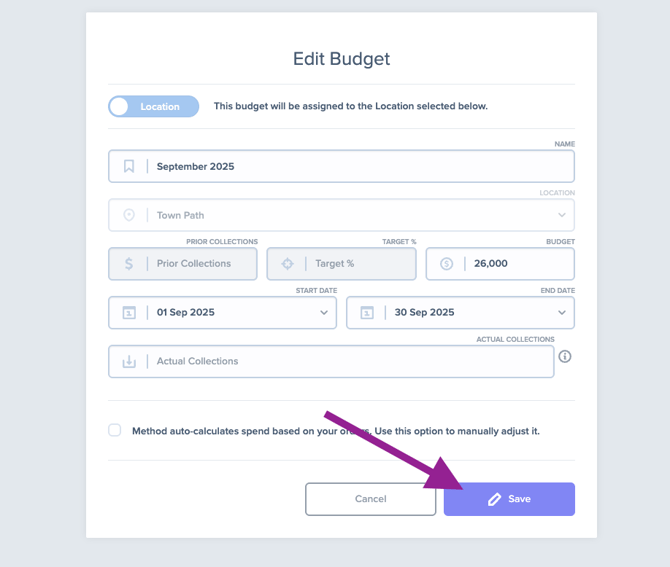
4. Enter required information: name, location, budget amount, start/end date. When you are finished, click on the green Save button.
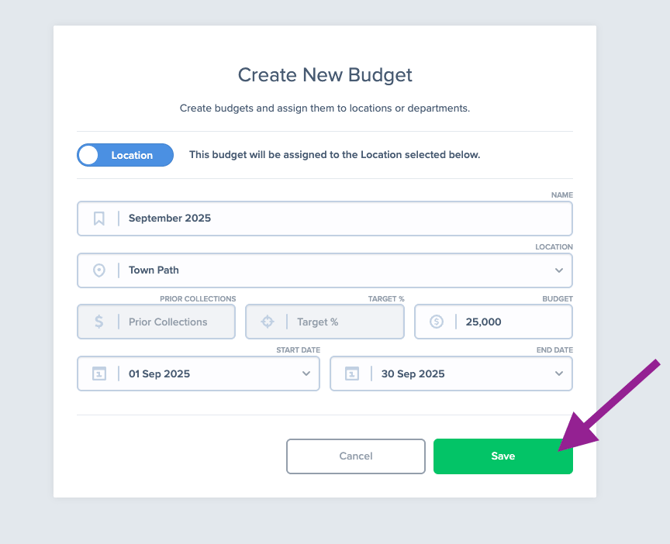
📝 The budget can be calculated by either directly entering the budget amount or by inputting your prior collection and specifying the percentage you wish to allocate for the budget.
Edit Existing Budget
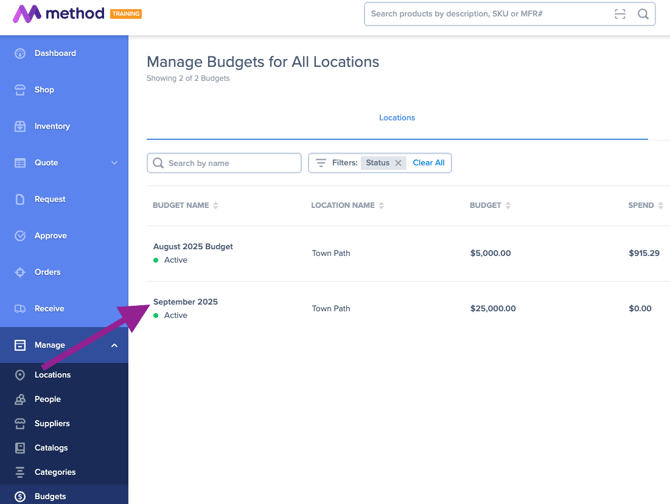
1. Find the budget in the locations tab or department tab and choose the budget you wish to modify and then click on it.
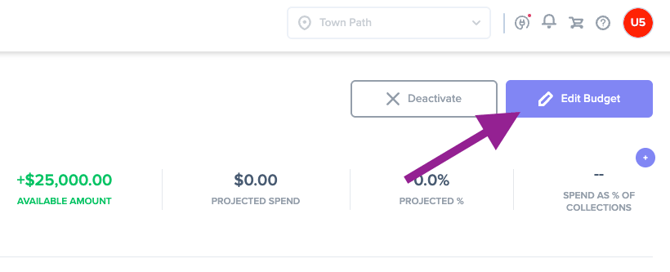
2. Click on the Edit Budget button to make changes to the budget.
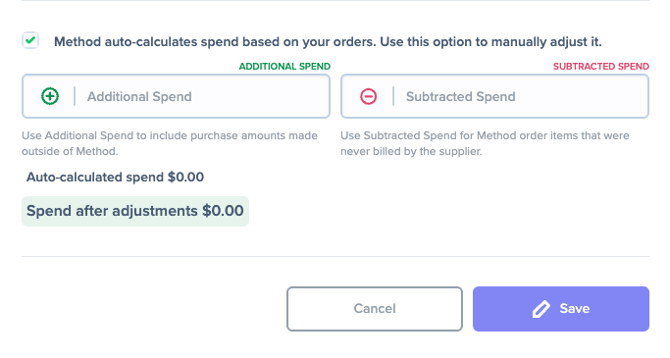
3. Need to manually adjust spend? Select the option shown here.
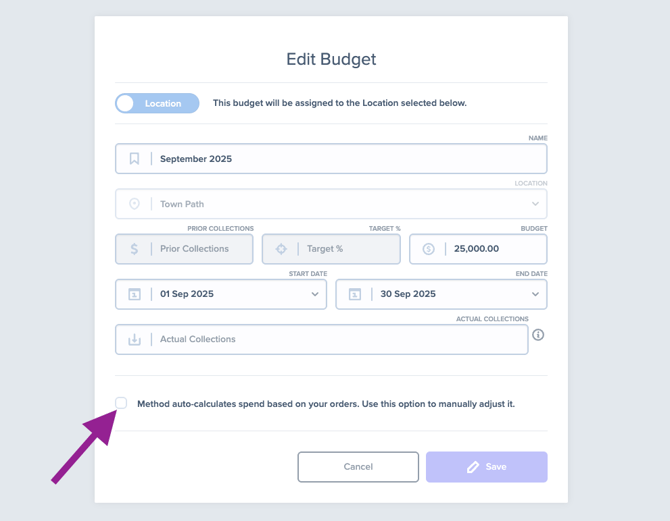
4. Click on the Save button once you have finished modifying the budget.
Import Budget
1. To import a new budget, navigate to the Manage option in the menu and select Budgets.
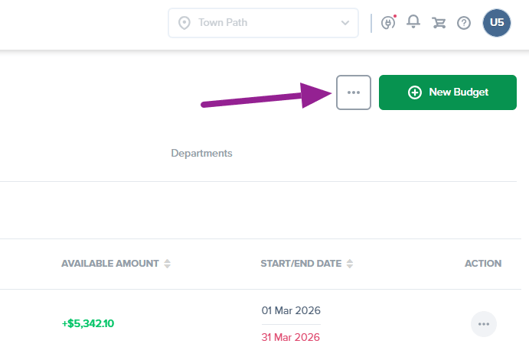
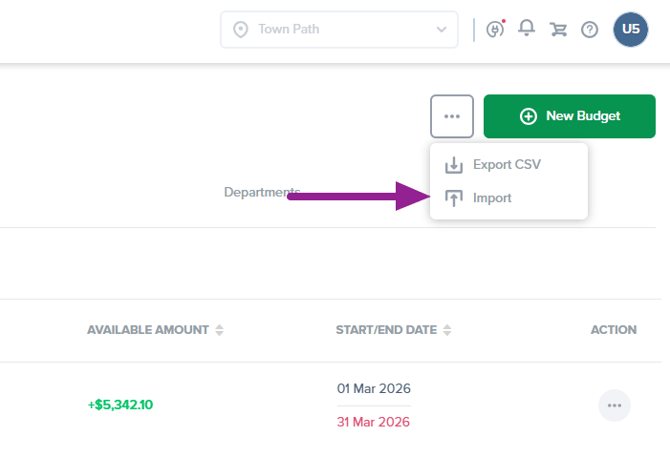
2. Click on the 3 dot menu and then select Import.
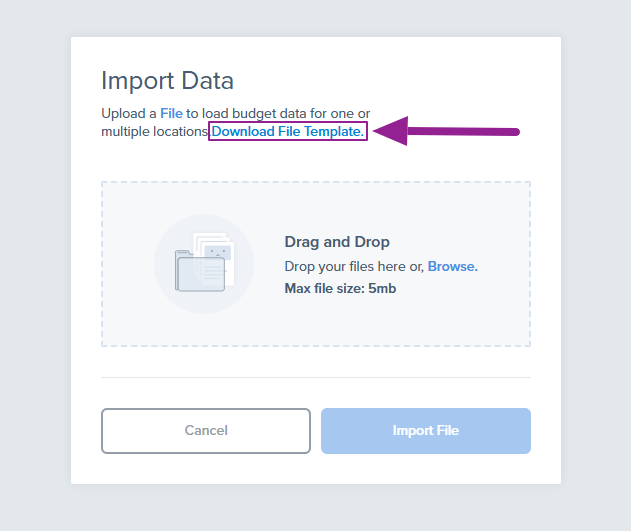
3. Click on Download File Template.
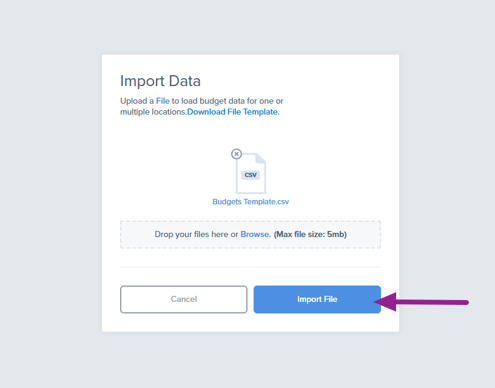
4. Open the downloaded template file and complete the required columns before importing the file.
5. In Location Name, enter the location the budget should apply to. This field is required.

6. In Department Name, enter a department only if the budget should be tied to a specific department.
- This field is optional. If you leave it blank, the budget will be imported as a location-level budget.

7. In Budget Name, enter a name for the budget. This field is required. A simple naming format such as location, department, month, and year is recommended so budgets are easy to identify later.

8. Complete the budget value using one of these two methods:
- Enter a value directly in Budget Amount

- Leave Budget Amount blank and complete both Prior Collections and Target Pct so the system can calculate the budget amount for you.

9. In Start Date, enter the date the budget should begin. This field is required.
10. In End Date, enter the date the budget should end. This field is required.
11. If needed, complete Additional Spend to add extra available budget funds. This field is optional.
12. If needed, complete Subtracted Spend to reduce the available budget amount. This field is optional.
13. If you want to track actual performance against projected collections, complete Actual Collections. This field is optional.
14. Save the file when you are finished, then return to Method to import the completed template.
📝 If you keep the same budget names from a previous import, you can reuse the template to update budget values later in bulk. Existing budgets in Method will update to reflect the new values.