Add New Users
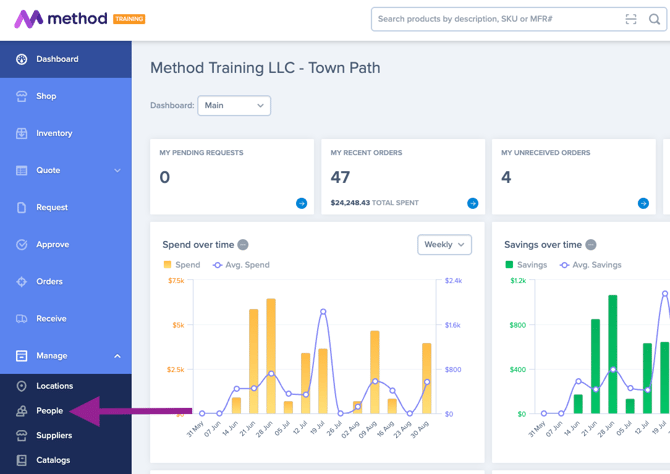
1.To access the users summary page, navigate to the left side of your screen and click on the Manage option in the menu. Then, select People from the drop-down. This page will provide you with an overview of all users, including their position and status.
2. To add a new user, simply click on the "Invite New Users" button.

3. Enter a valid email address.

4. Choose the location(s) that are relevant to the user (multiple locations can be selected).

5. Choose the role(s) for the user (you can select multiple roles).
- Selecting the roles will control the permissions for that user

Roles Permissions Overview
Receiving
Enables users to receive items from purchase orders within the software to verify the accurate shipment of products.
Approval
Enables users to approve or decline pending Requests, ensuring they are sent out to the Supplier.
Sourcing
Enables users to create and modify quotes within the software.
Purchasing
Enables users to search for products and create Requests within the software. Users will have the ability to send the Request for Approval.
Reporting
Enables users to generate and build reports.
Inventory ManagerEnables users to effectively manage the quantity of products in the inventory. This feature grants the user the ability to conveniently add or remove products from the inventory.
Location AdminEnables the user to have complete access and control over the specific location. The Location Admin will have the ability to manage budgets and users for that particular location.
Practice AdminThe Practice Admin is granted complete access and configuration of all the locations within the platform. They have the ability to manage all budgets and users from any of the locations.
6. Once you have finished selecting the location(s) and role(s), simply click on the "Done" button.

7. Select the "Send Invite" button to extend an invitation to the user, granting them access to the site.

📝 Once the invite is sent, the recipient will receive an email notification containing a link. By clicking on the link, the user will be guided through the registration process.
💡Additionally, you have the option to invite multiple users simultaneously by clicking on the "Add Another" button.

Manage Existing Users
Modifying Permissions
As the location or practice admin, you have the ability to update a user's permissions at any time.
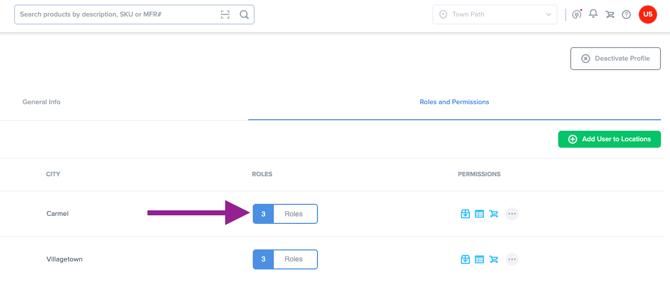
1. Choose the user you wish to update.

2. Navigate to the Roles and Permissions tab and click on the Role option next to the user's name.
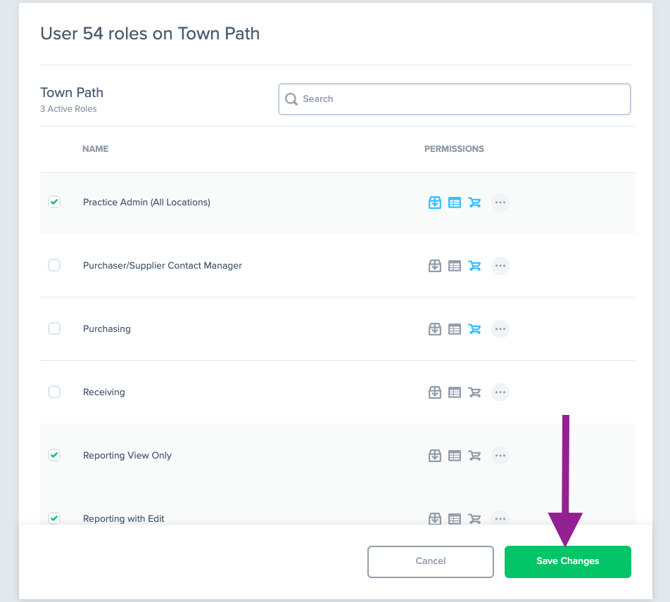
3. Choose the roles and click on the "Save Changes" button.
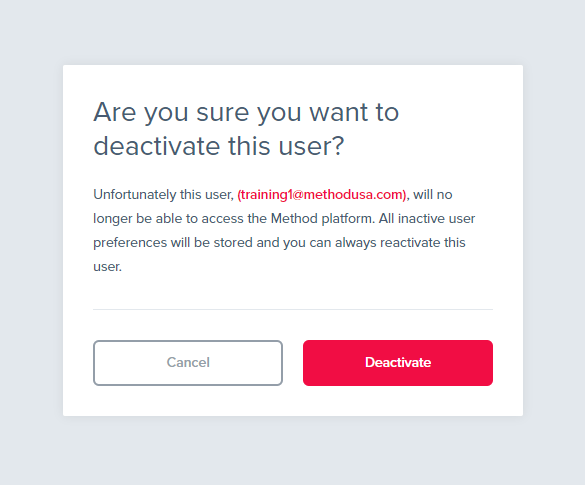
Deactivating Users
Users can be deactivated to restrict their access to the platform. Once deactivated, users can be reactivated at any time by the location or practice admin.
1. Click on the ellipsis icon under the action column.
2. Click on the option "Deactivate" to restrict access for that user.

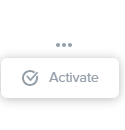
3. To reactivate the user, simply click on the "Reactivate" option.